Heroes Mural
Located at Conway Elementary School - Stafford, Virginia

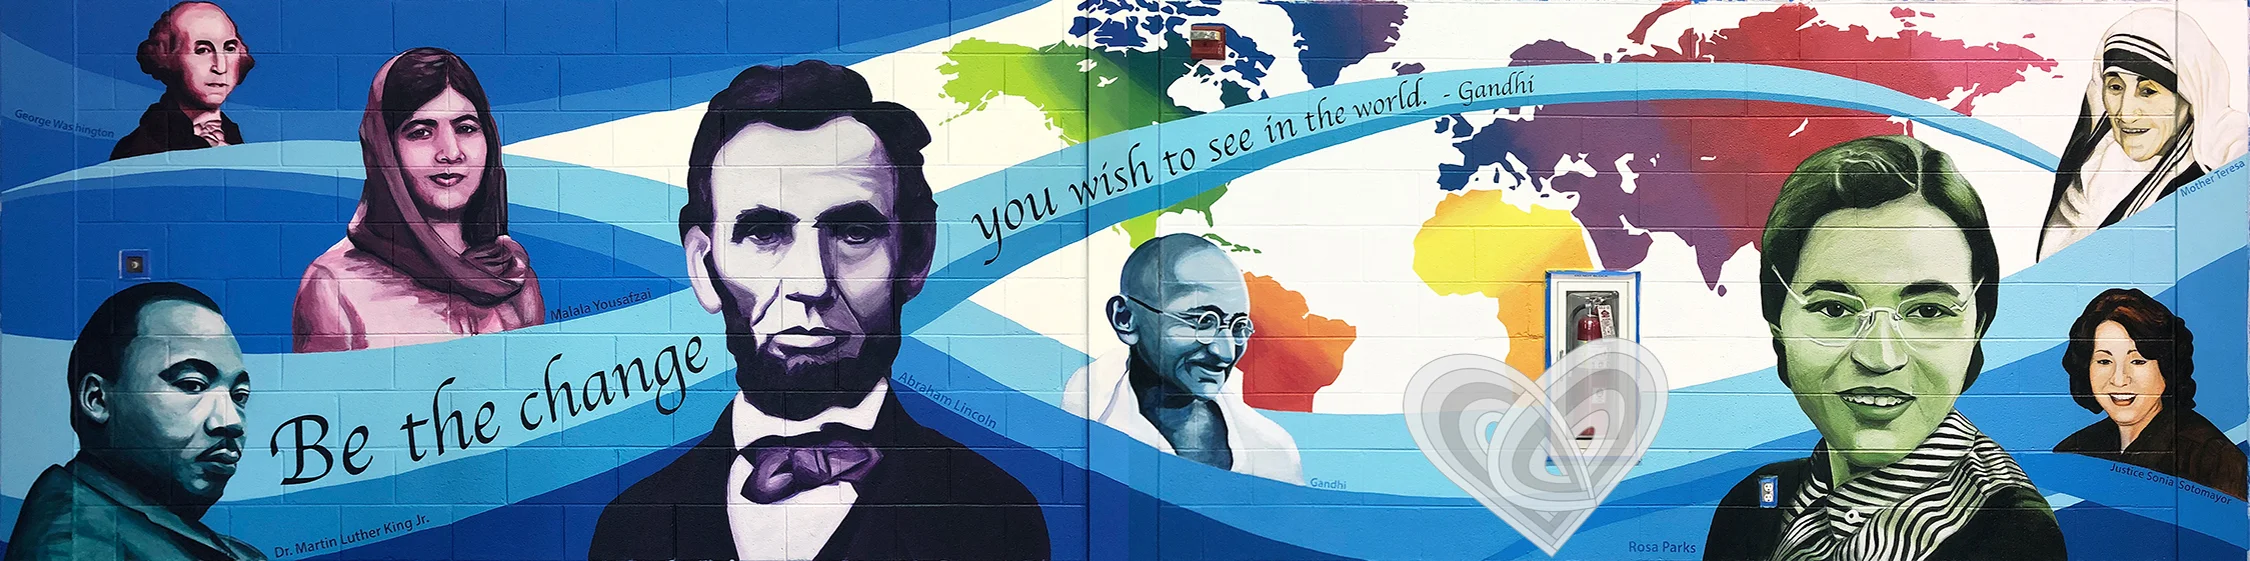
Heroes - Mural Created By Tanya M. Green 2019
The BACKSTORY
For three years, Mr. J.R. Raybold, Principal of Conway Elementary School, dreamed about implementing a mural filled with historical figures that would inspire his students. After encountering several dead ends in his mural search, the Assistant Principal at that time, Karen Bingham, contacted me to see if I would be interested in helping them out. You should know that once Karen told me that the mural would have people in it, let alone famous people, my palms started to sweat. Up until then, I was painting mostly animals so the thought of painting people made me a bit nervous. Plus, I had never painted a mural before, so taking on this initiative was going to push me beyond my comfort zone.
Despite being nervous, I knew that I was capable of this task and was up for the challenge. No matter how long it took, I was going to deliver them a work of art that we would both be proud of. Along the way, I learned a lot and I am so grateful that they took a chance with me. Thank you for believing in me! Please explore below to see the steps that it took to make this dream a reality.
Getting Started
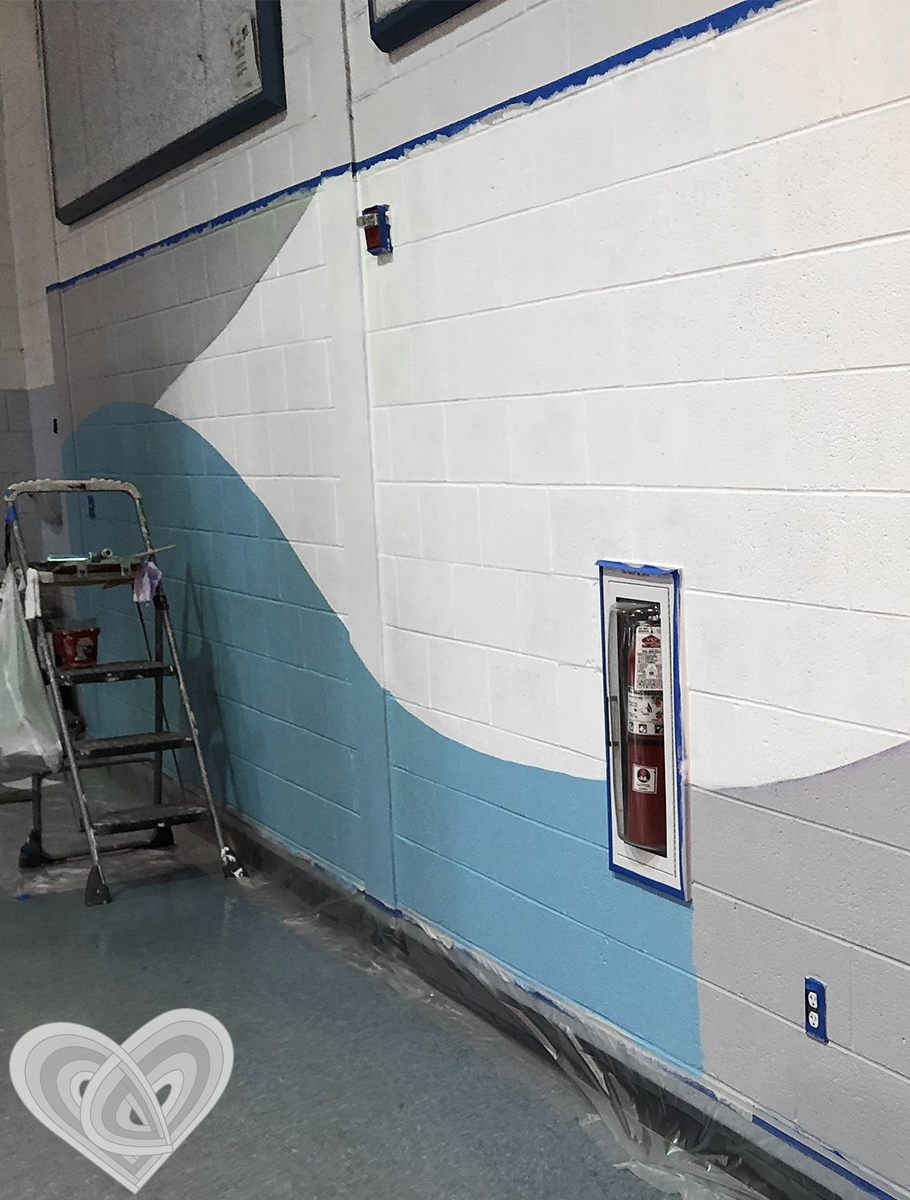
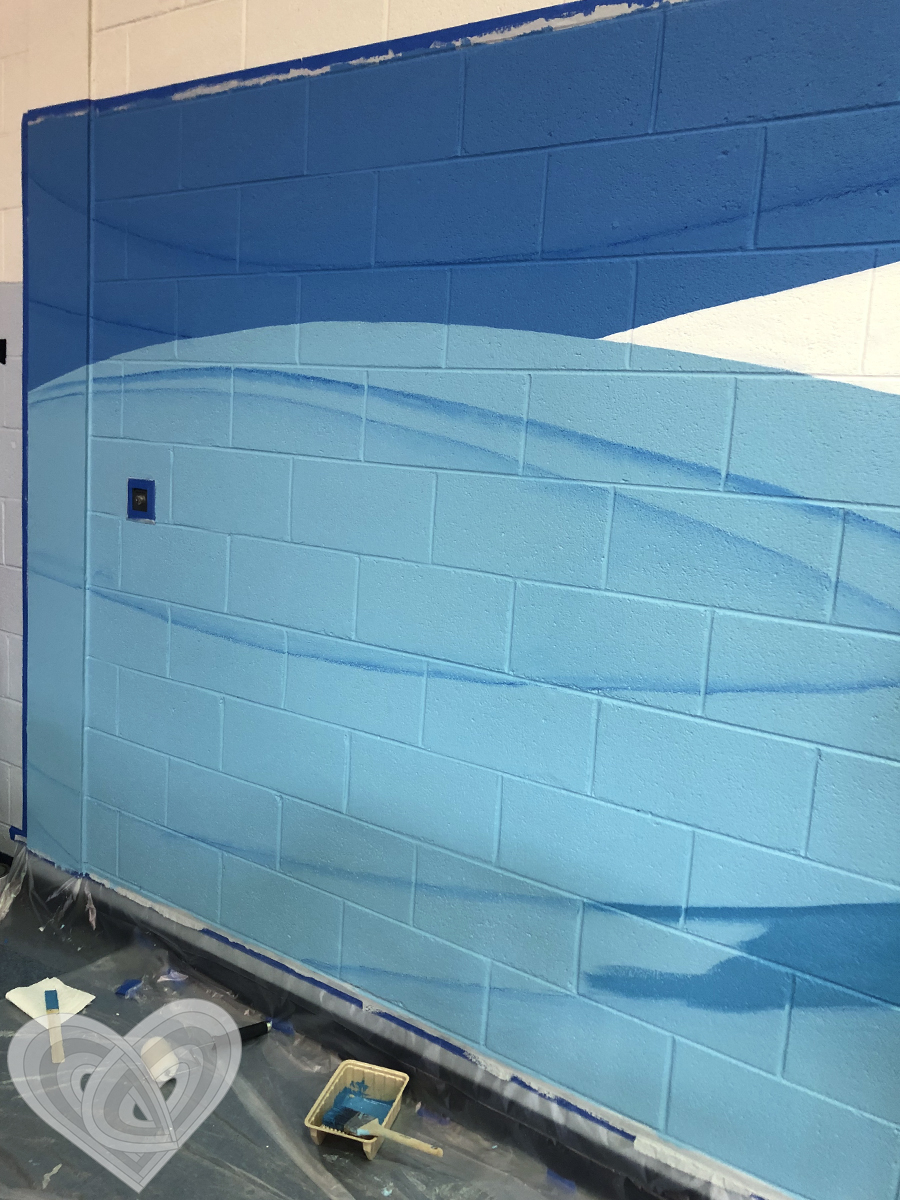
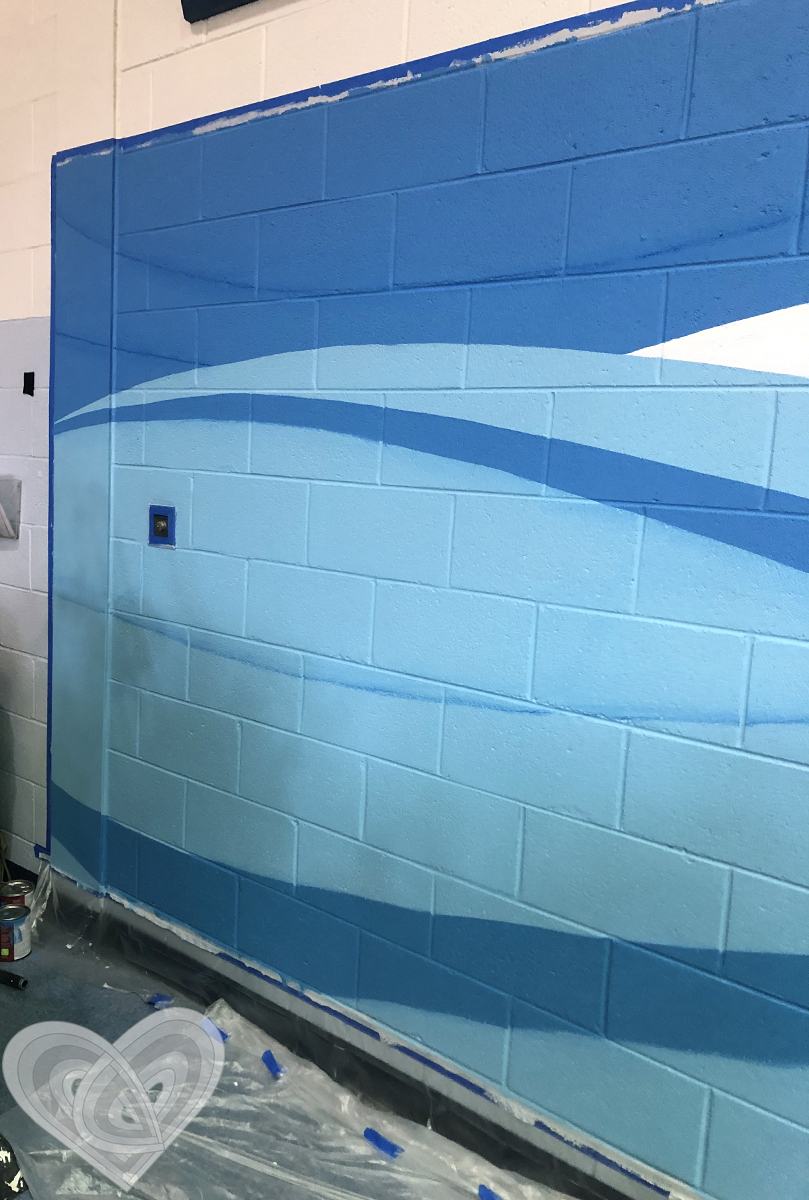
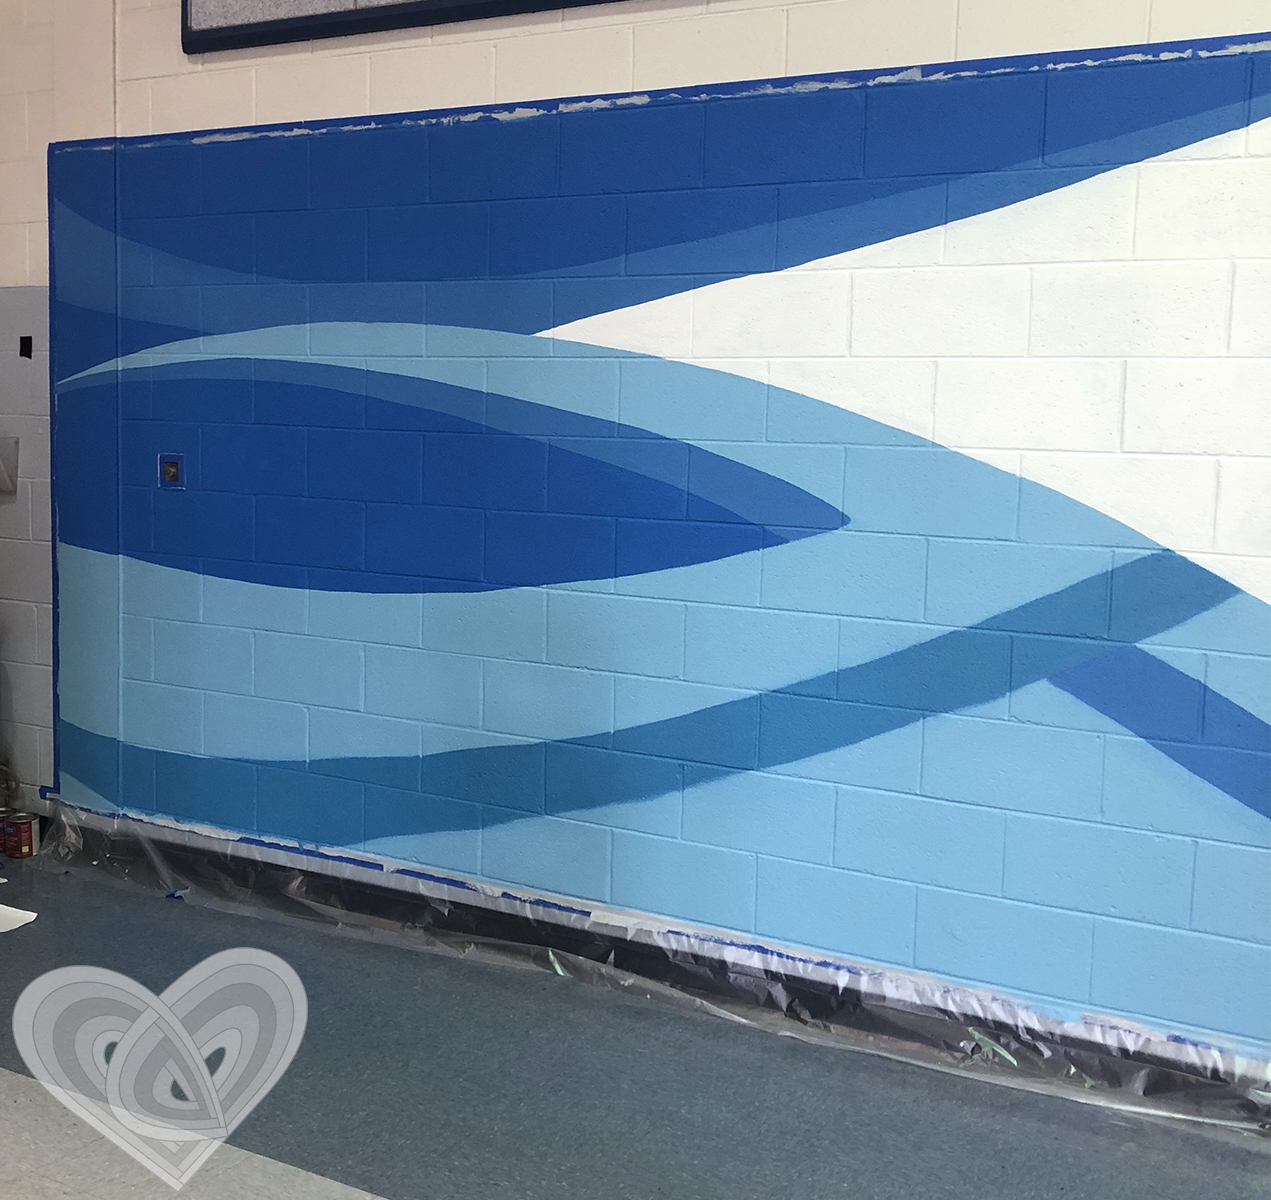
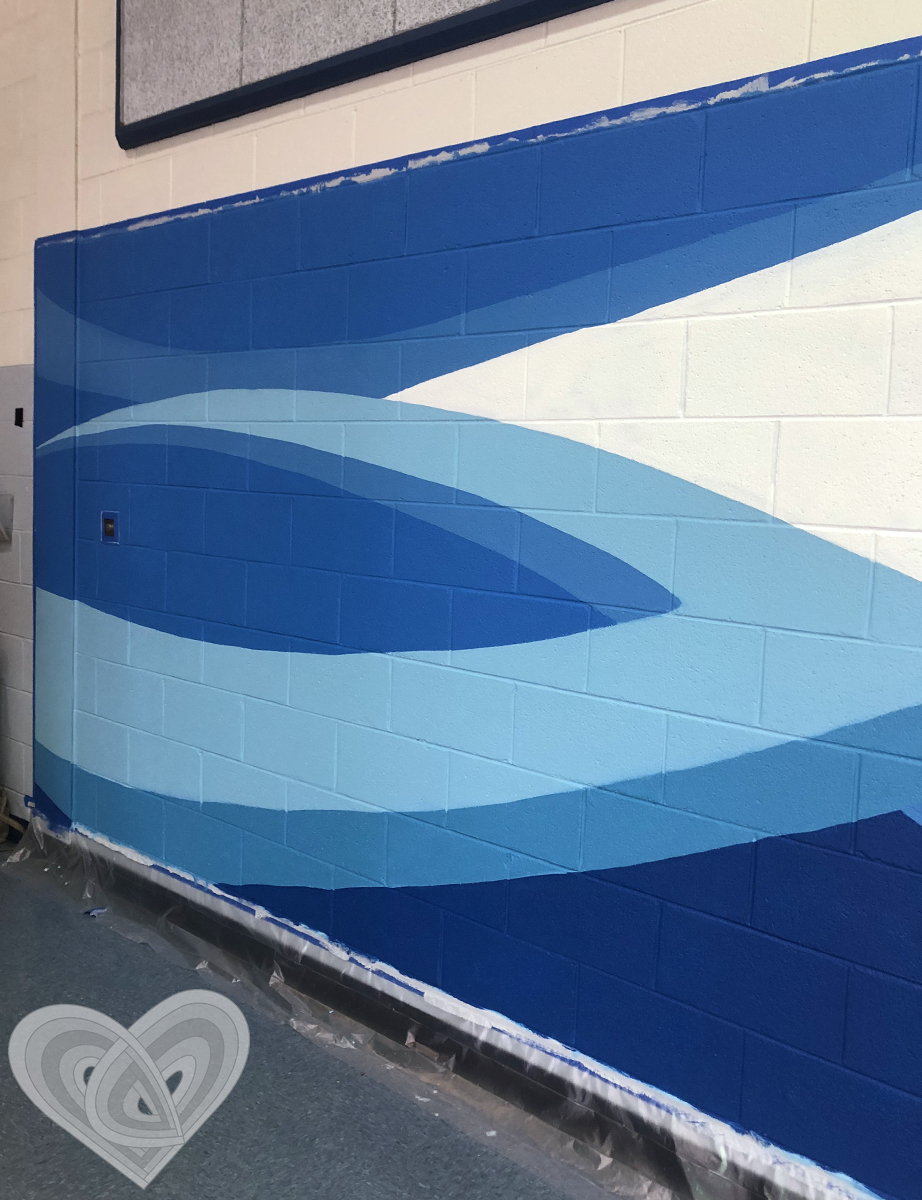
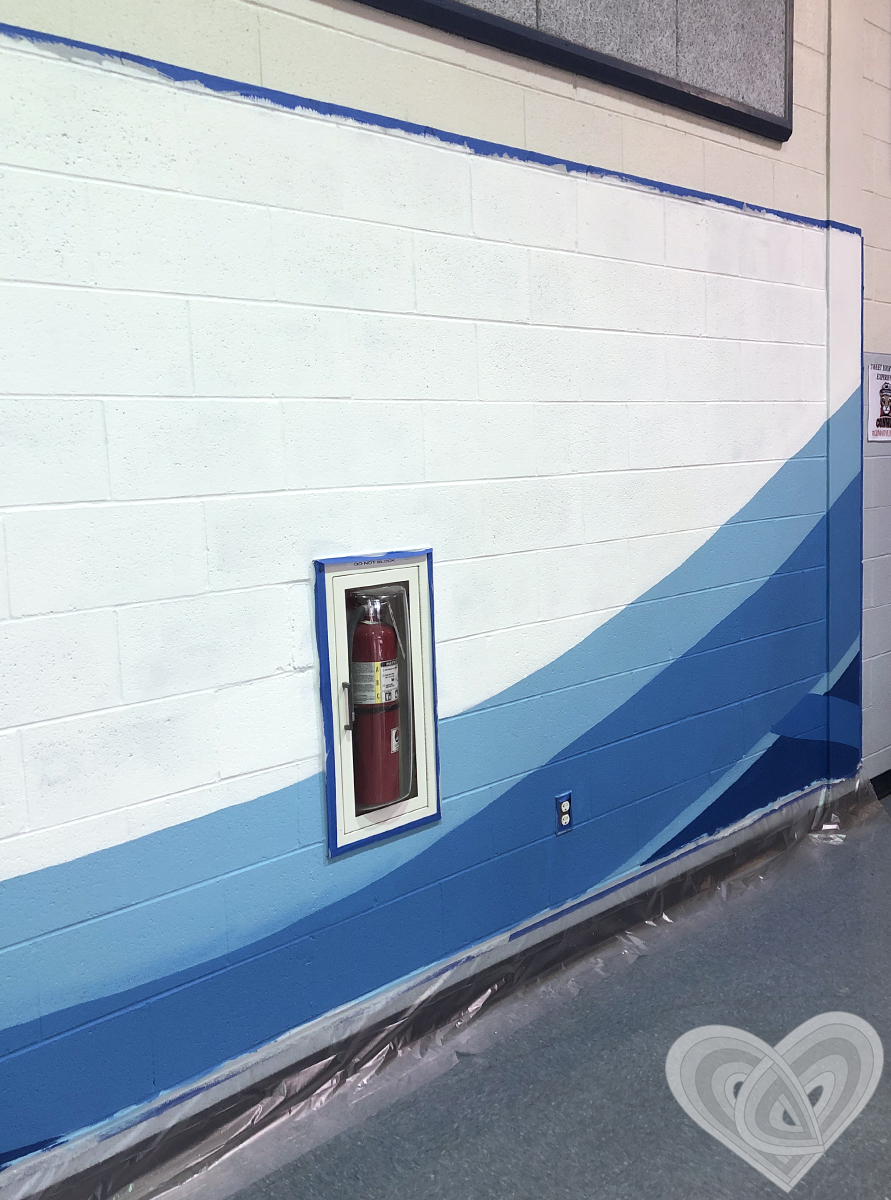
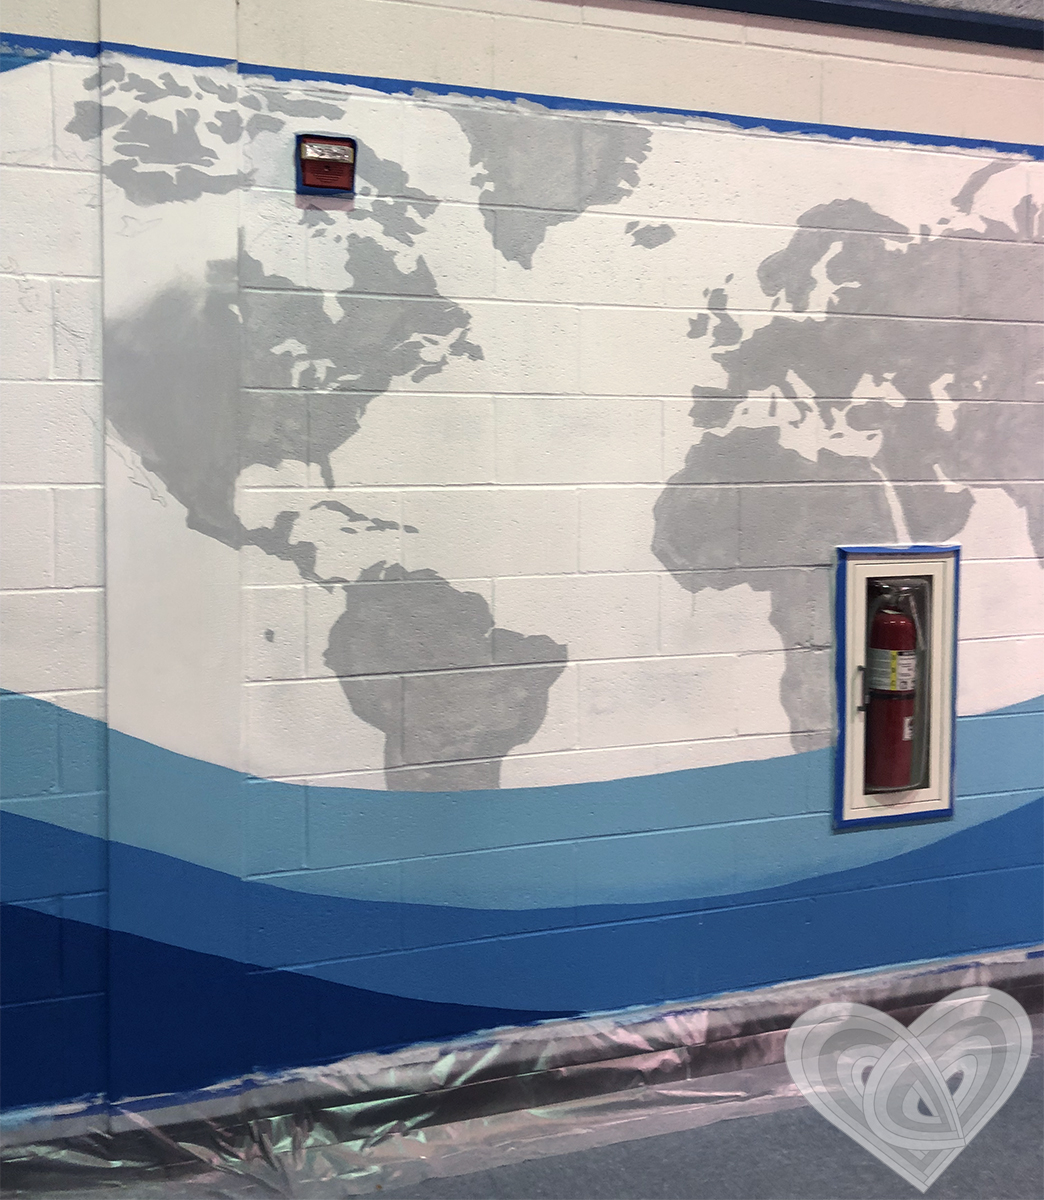
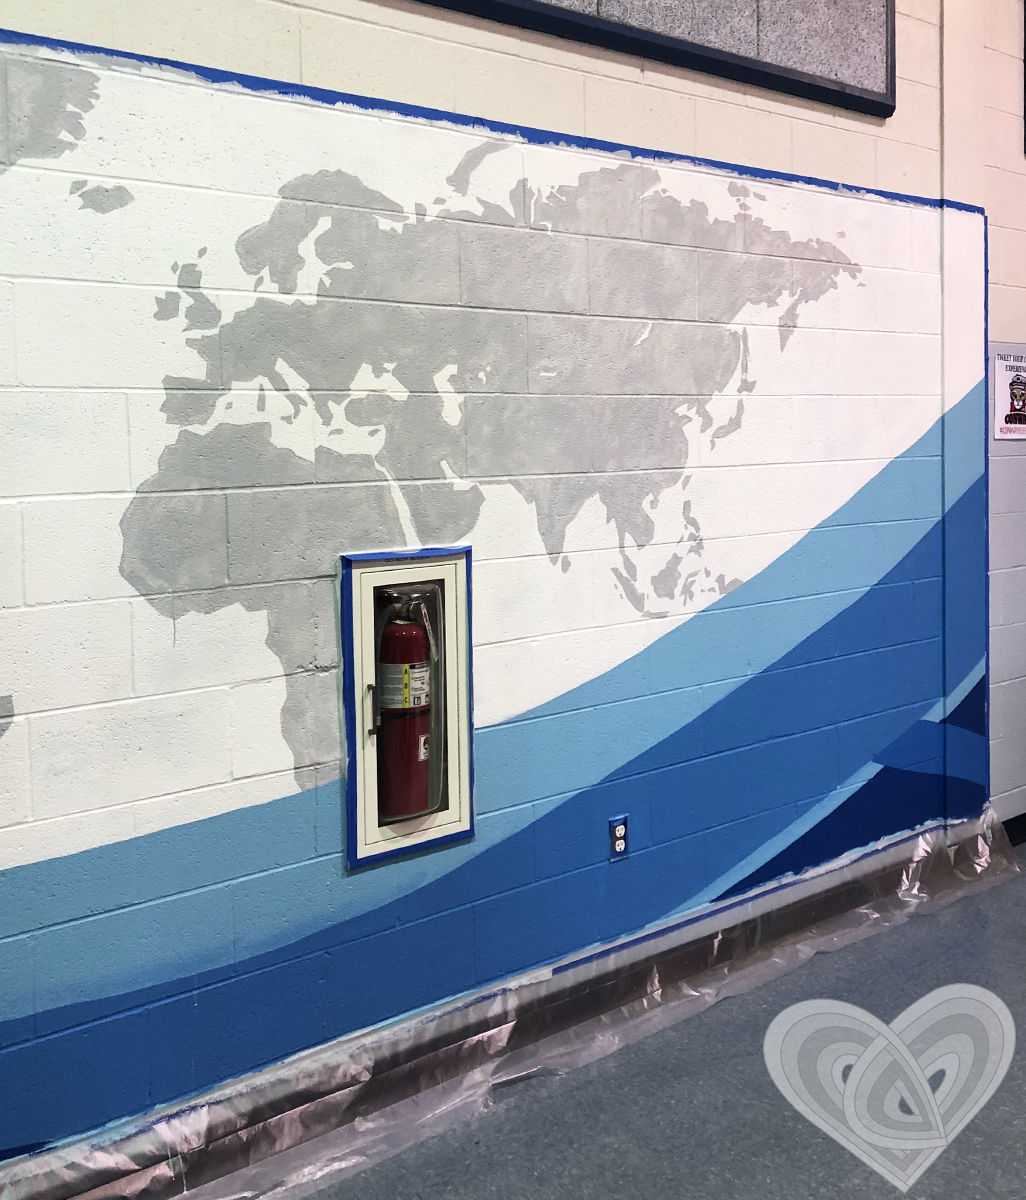
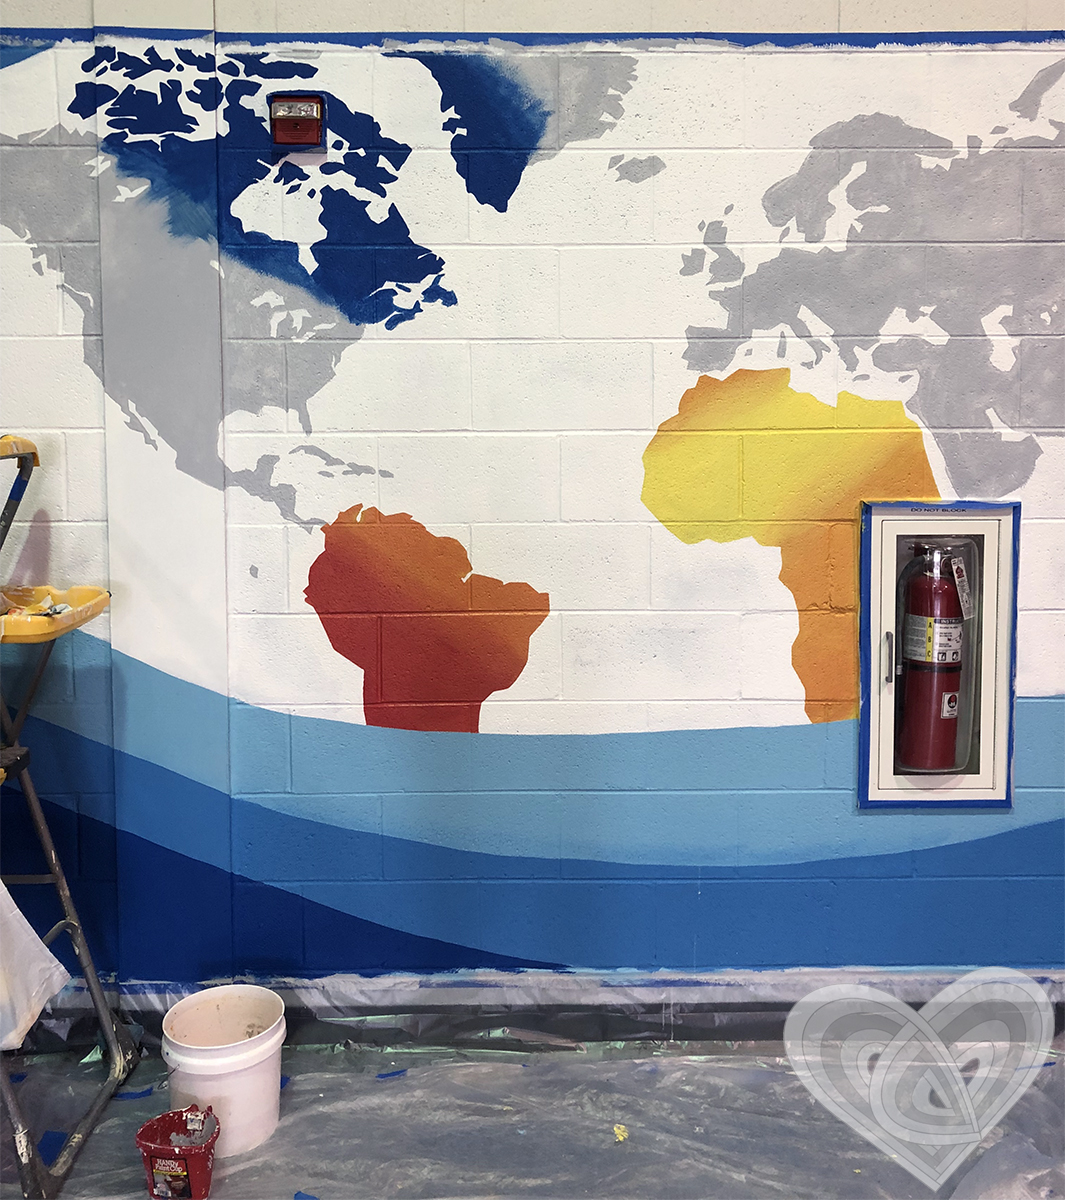
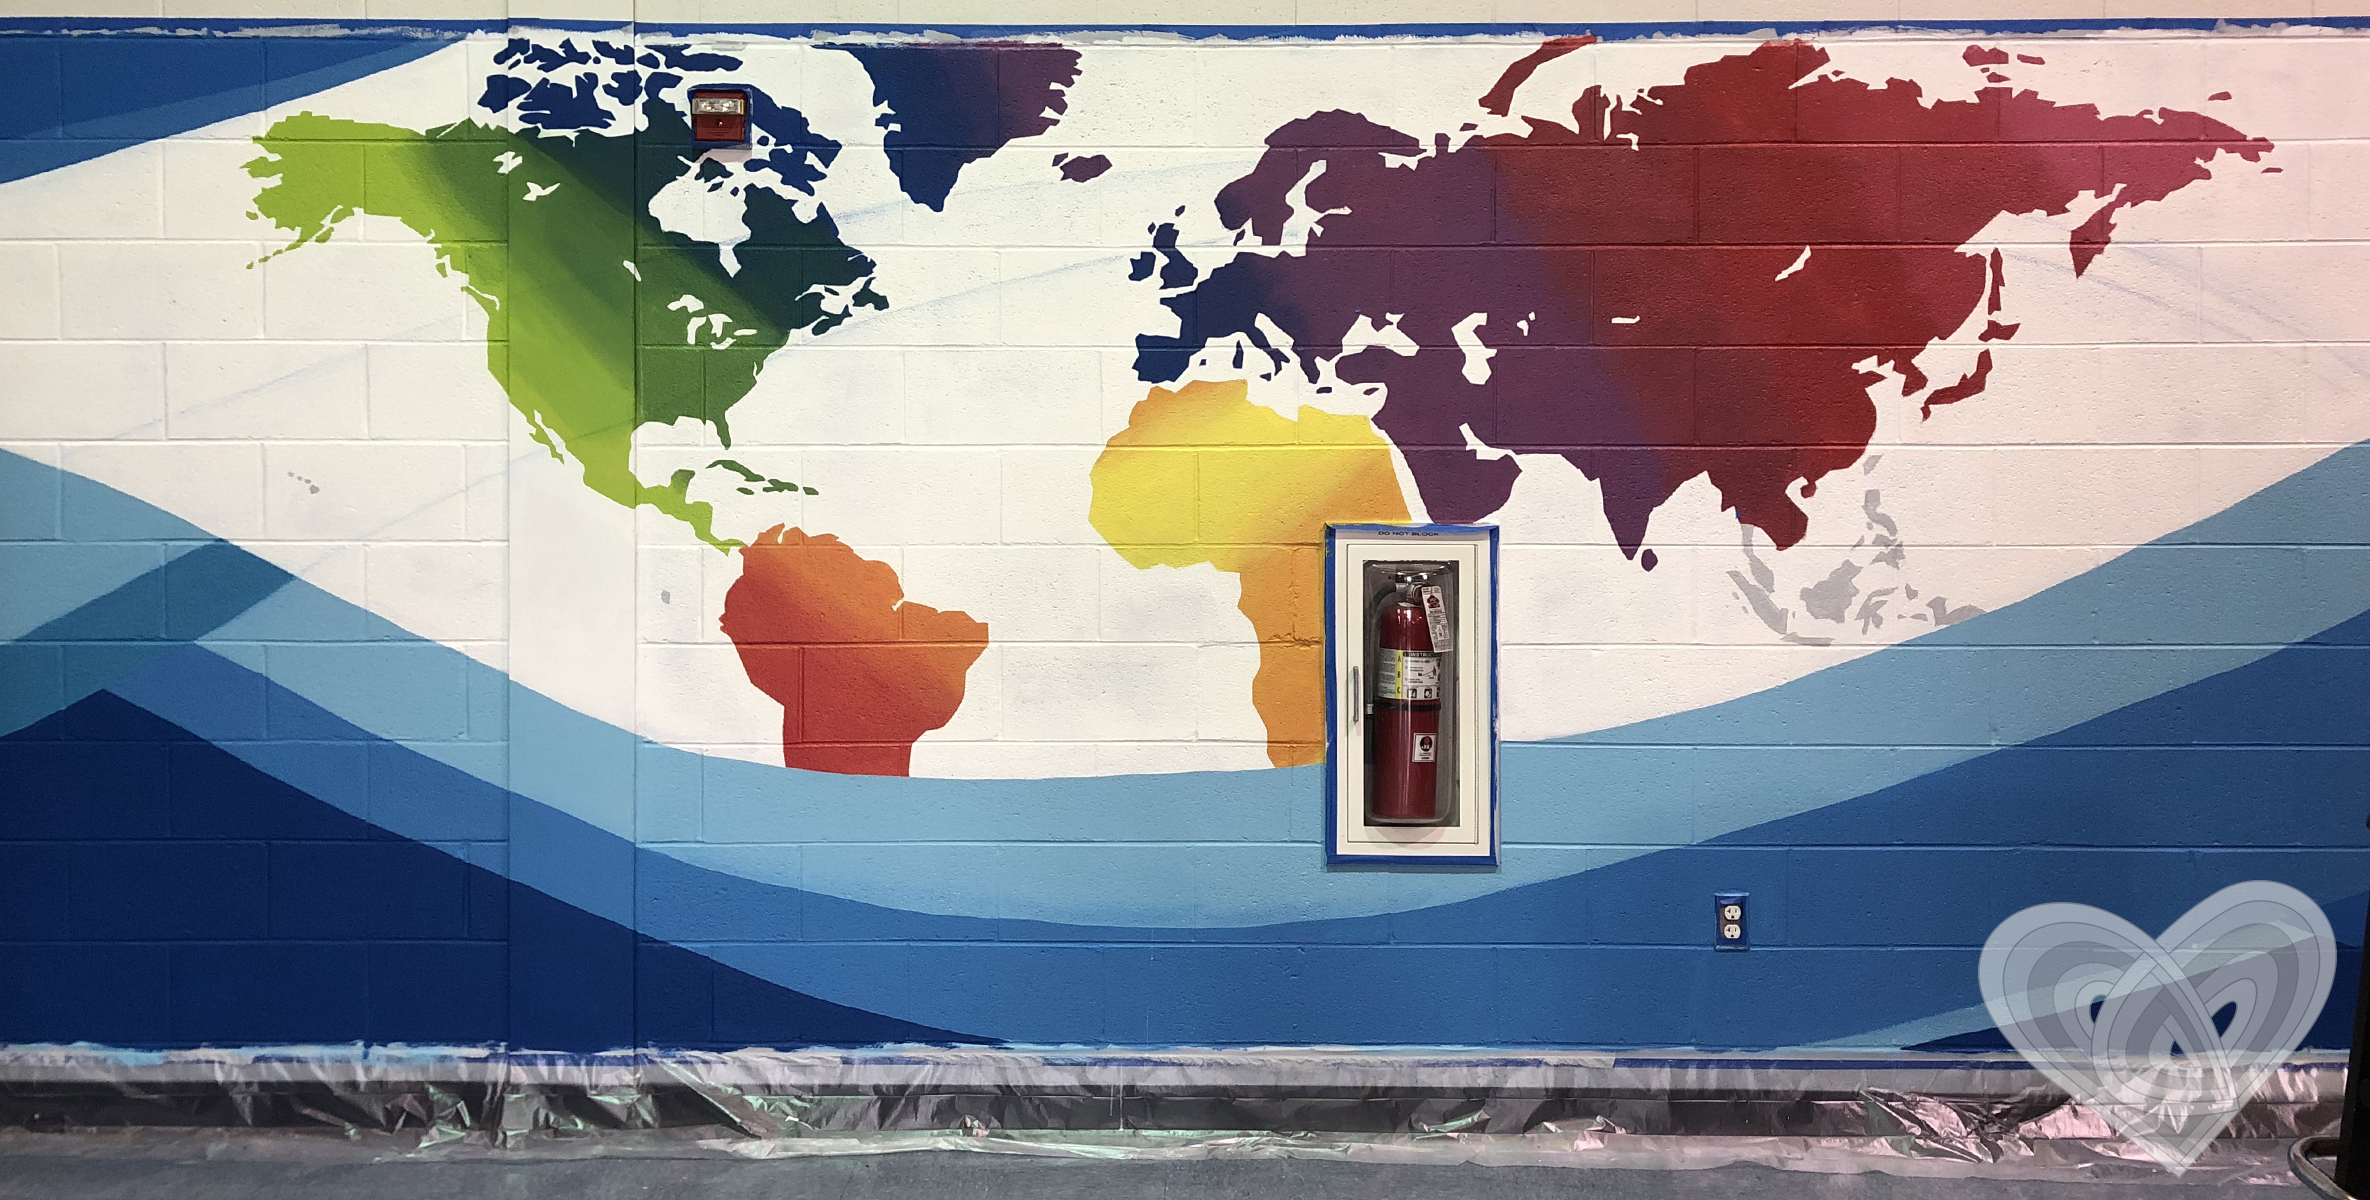
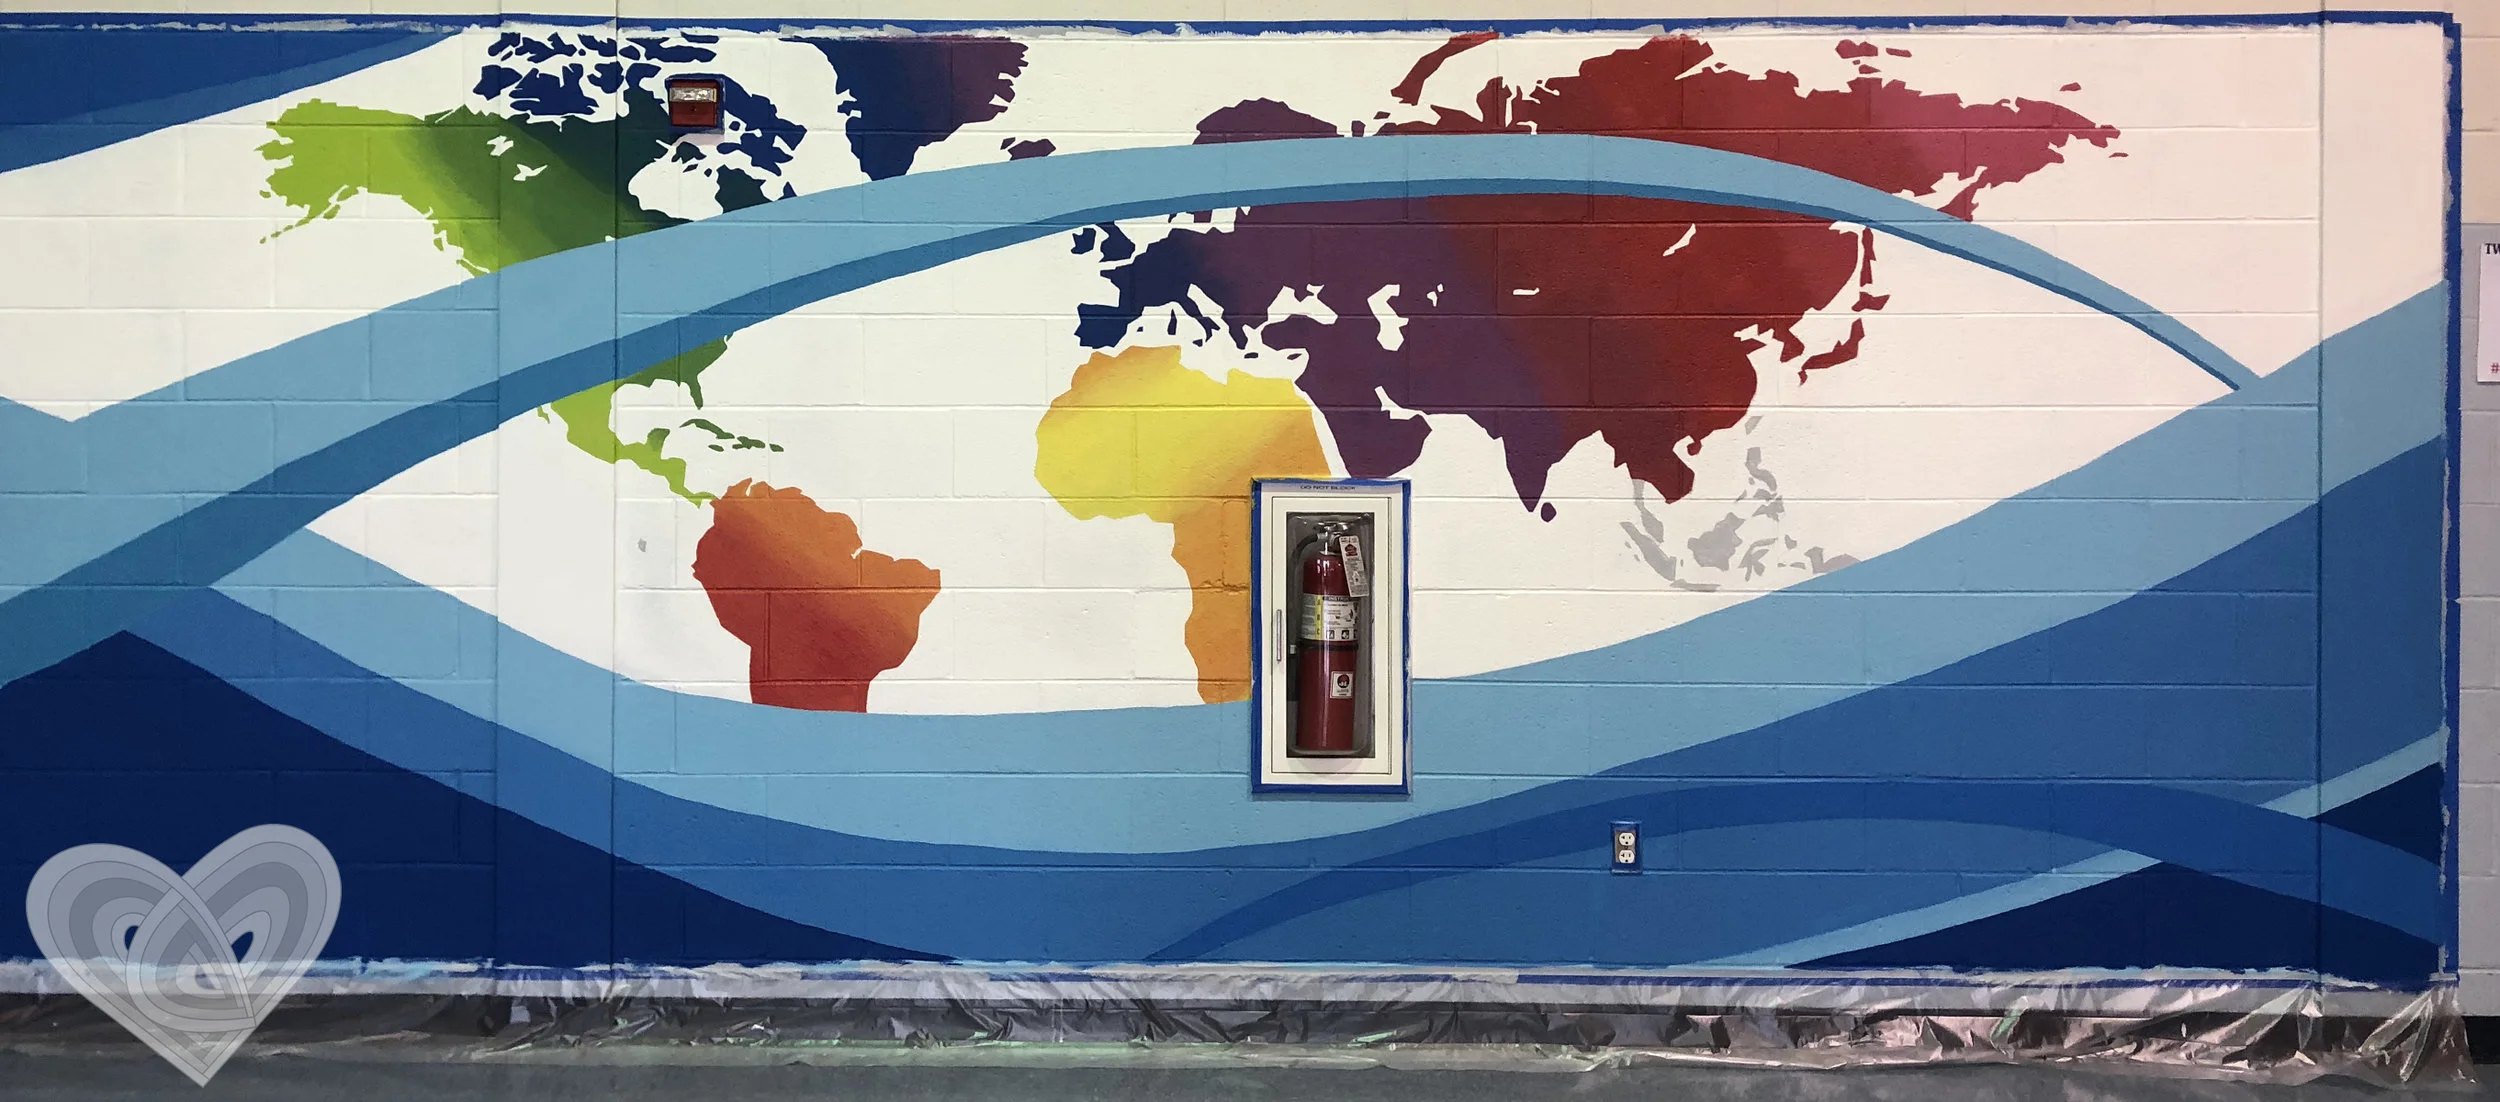
After the final design was approved, work could begin. The space for the mural was located in the school’s cafeteria. The mural is approximately 27 feet long by 8 feet high. Before I could start laying out the design, I had to clean the wall and prep the surface with a coat of primer. I learned really quick that painting on a concrete cinder block wall was going to be challenge. Once the primer was set, I started drawing out and painting the background elements to the mural.

Creating the Portraits
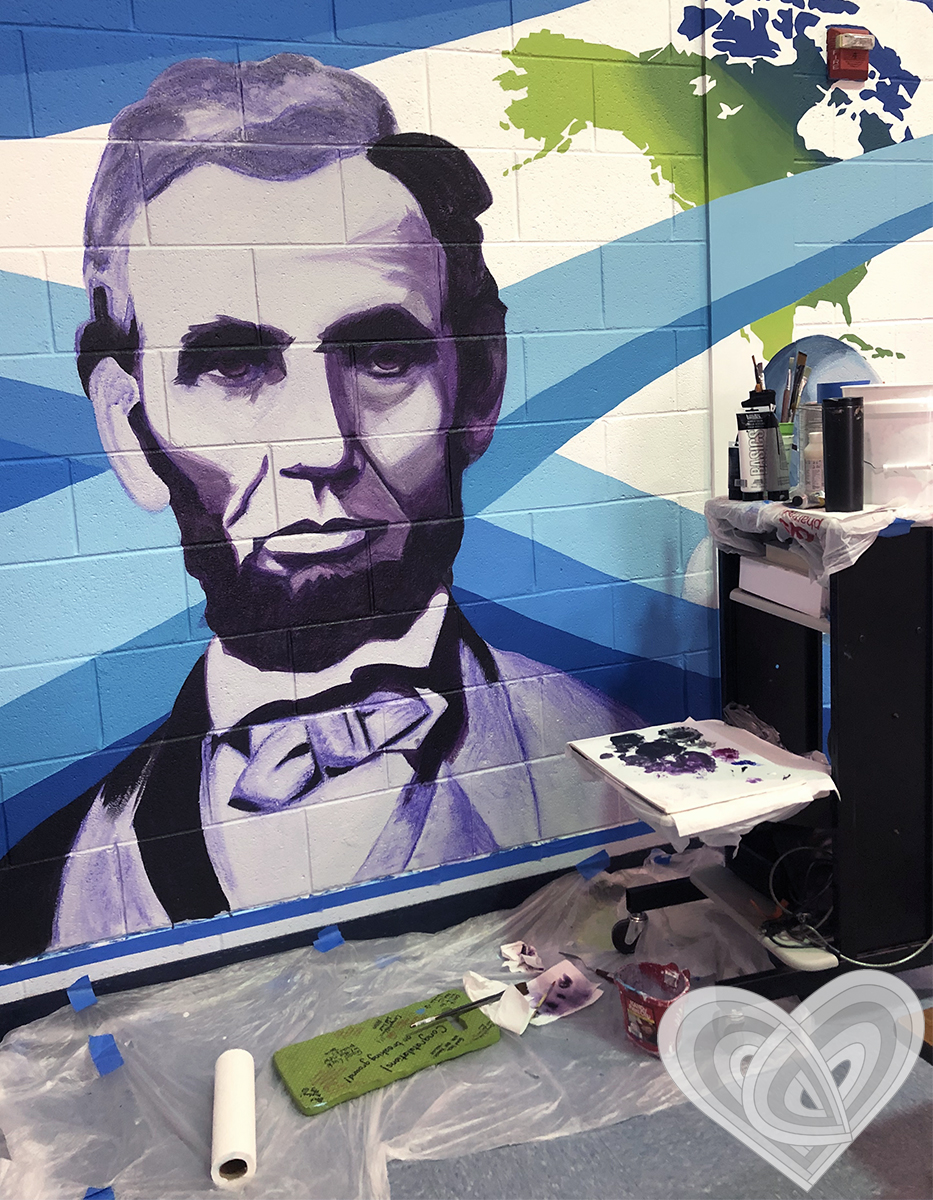
After I had all of the background elements in place, I began painting in the portrait locations with primer. Next I drew in the face details and values with water soluble pastels. Once I had a the values the way I wanted, I painted over them in acrylic. Here you can see the transition in the portraits through the various stages.


Finishing Touches
Painting the quote onto the mural was the last step. A lot of prep work went into getting the words ready for installation. I tiled the letters together and used carbon paper to transfer the letter outlines to the wall. Filling in the letters with paint was very laborious especially on the bumpy surface. I wanted the letters to look like they had been printed on the wall. The “g” in change only took me 15 minutes to paint. That’s what happens when you’re a perfectionist!


See the Full Progression
The following stacked images show you the progression of the mural through the weeks.


*Images are watermarked with the Green T Studios logo for protection against copyright infringement.